
How to Change a Semi Truck Tire: Step‑By‑Step Guide
Only 23% of semi‑truck tire ‑change guides spell out safety steps, and a missed warning can cause injury. Follow our hands‑on process so you can replace a tire right on the road, without guessing.
Step 1: Gather Tools and Inspect the Tire
Start by pulling out the essential gear: a lug wrench, a tire bar, a bead breaker, and a torque wrench. The tire bar shows up in 17% of tool lists, so it’s a must‑have for separating the bead from the rim. Wikipedia notes that semi‑truck wheels can weigh over 150 lb, so strong tools save you back strain.
Check the tire for visible damage, cuts, punctures, or sidewall cracks. If the tread looks worn unevenly, note it for the replacement decision. A quick visual scan also helps you spot any retained valve stems that could leak air later.
Make sure you have a clean, flat surface to work on. Place a protective surface under the wheel to keep the tire from rolling while you loosen the nuts. And keep a spare tire within arm’s reach.
When you’ve gathered everything, you’re ready to secure the truck. If you’d rather skip the DIY effort, The Tire Specialist can bring the tools to you , so you avoid hauling gear yourself.
Step 2: Secure the Truck and Loosen the Lug Nuts
Park the rig on level ground away from traffic. Turn on the hazard lights and engage the parking brake. Then place wheel chocks on the opposite side of the tire you’re working on.
Next, position a suitable lifting device at the manufacturer‑recommended lift point.
Begin turning the lug nuts counter‑clockwise with the lug wrench. Don’t fully remove them yet, just break the seal so they won’t spin when the truck is lifted. Keep your foot on the wrench for extra control; this prevents the nut from snapping off.
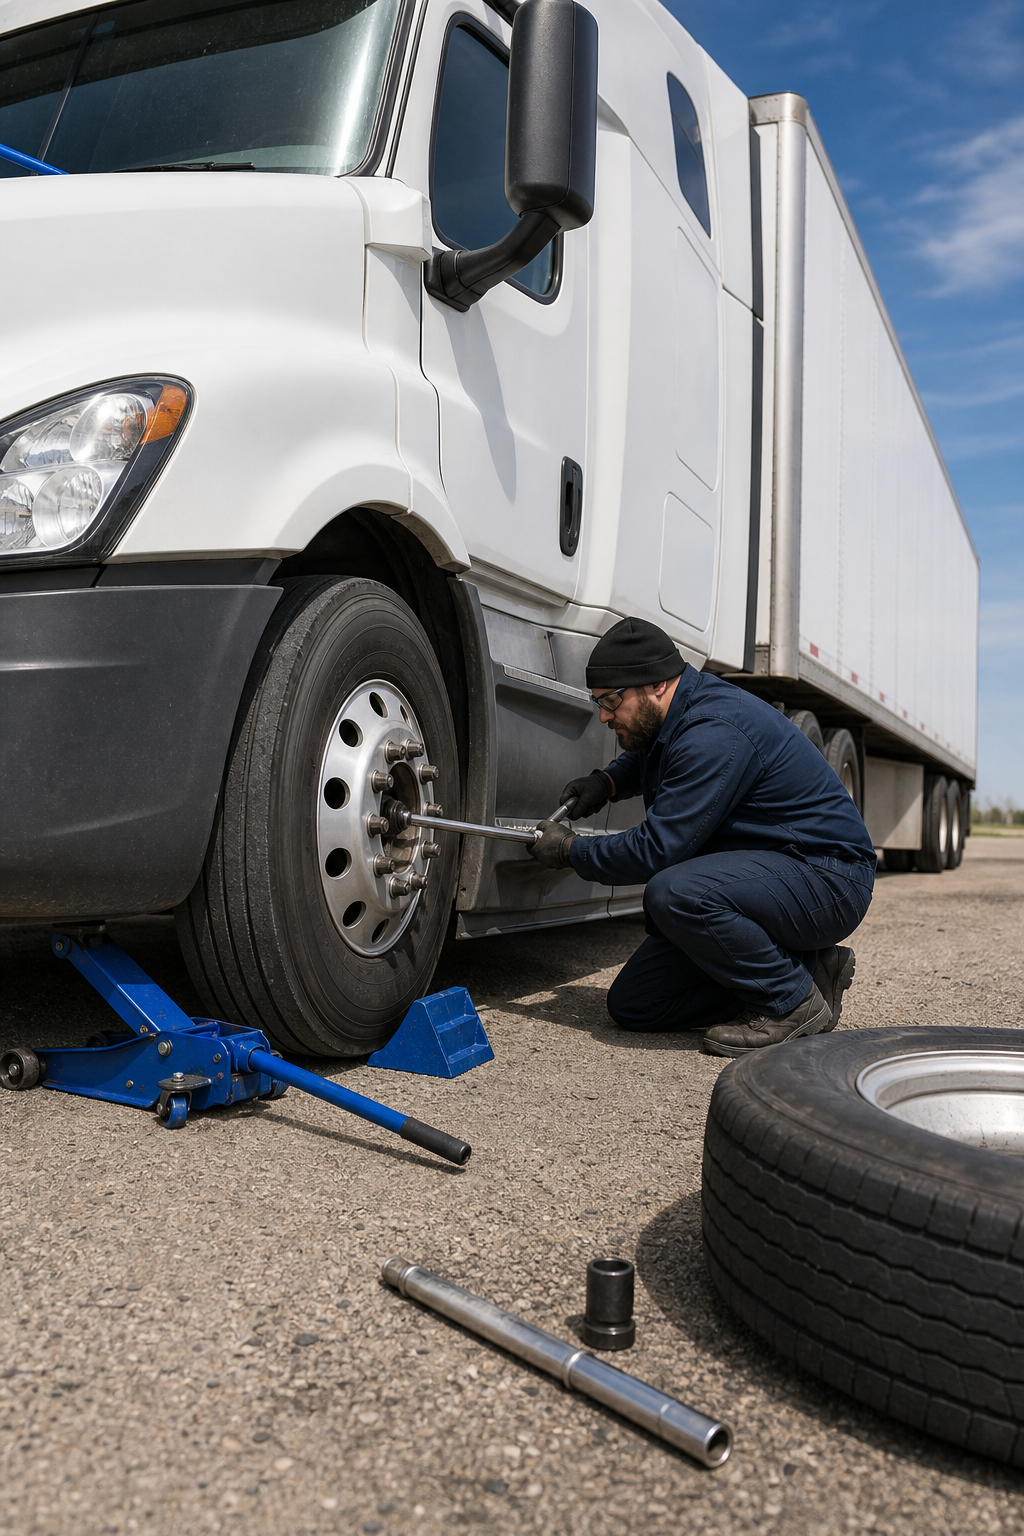
And remember: if the lug nuts feel stuck, apply a suitable lubricant and let it sit briefly.
Step 3: Lift the Truck and Remove the Tire
Pump the jack slowly until the tire clears the ground. Watch the jack handle for smooth movement; any sudden jumps mean the load isn’t balanced.
Once the wheel is free, finish unscrewing the lug nuts by hand and set them aside in a clean tray. Then pull the tire straight toward you. If the bead sticks, use the bead breaker for about five minutes, most guides estimate that time for a clean break.
Set the old tire aside, being careful not to roll it onto the road. Keep the area tidy so the next driver isn’t surprised by a stray tire.
Pro Tip:Keep the removed tire on a flat surface with the tread facing up. This prevents the bead from curling back onto the rim when you later reinstall the new tire.
Step 4: Mount the New Tire and Hand‑Tighten Lug Nuts
Lift the new tire onto the hub, aligning the bolt holes with the studs. Press the tire’s bead down until you hear a click, this signals the rim is seated.
Hand‑tighten each lug nut in a star pattern. This spreads the load evenly and avoids warping the wheel. If the tire has a built‑in bead lock, make sure it clicks into place before you finish tightening.
Give the tire a quick spin to confirm it isn’t rubbing the brake drum or hub. Any wobble means the bead isn’t fully seated and you should repeat the seating step.
When the tire sits right, you’ve saved yourself a lot of re‑work later. The Tire Specialist’s fleet program can pre‑stock the correct size on the mobile unit, so you never run out of the right tire.
Step 5: Lower the Truck, Torque Lug Nuts, and Final Safety Check
Slowly release the jack, letting the truck settle onto the new tire. Remove the wheel chocks once the wheel is firmly on the ground.
Now grab the torque wrench and apply the manufacturer‑specified torque, usually around 200 lb‑ft for a semi‑truck wheel. Tighten the lug nuts in the same star sequence you used earlier.
Do a final visual inspection: check that the tire pressure matches the cold‑inflation rating on the sidewall, and verify the lug nuts are snug. Give the tire a gentle push; it should stay steady without wobbling.
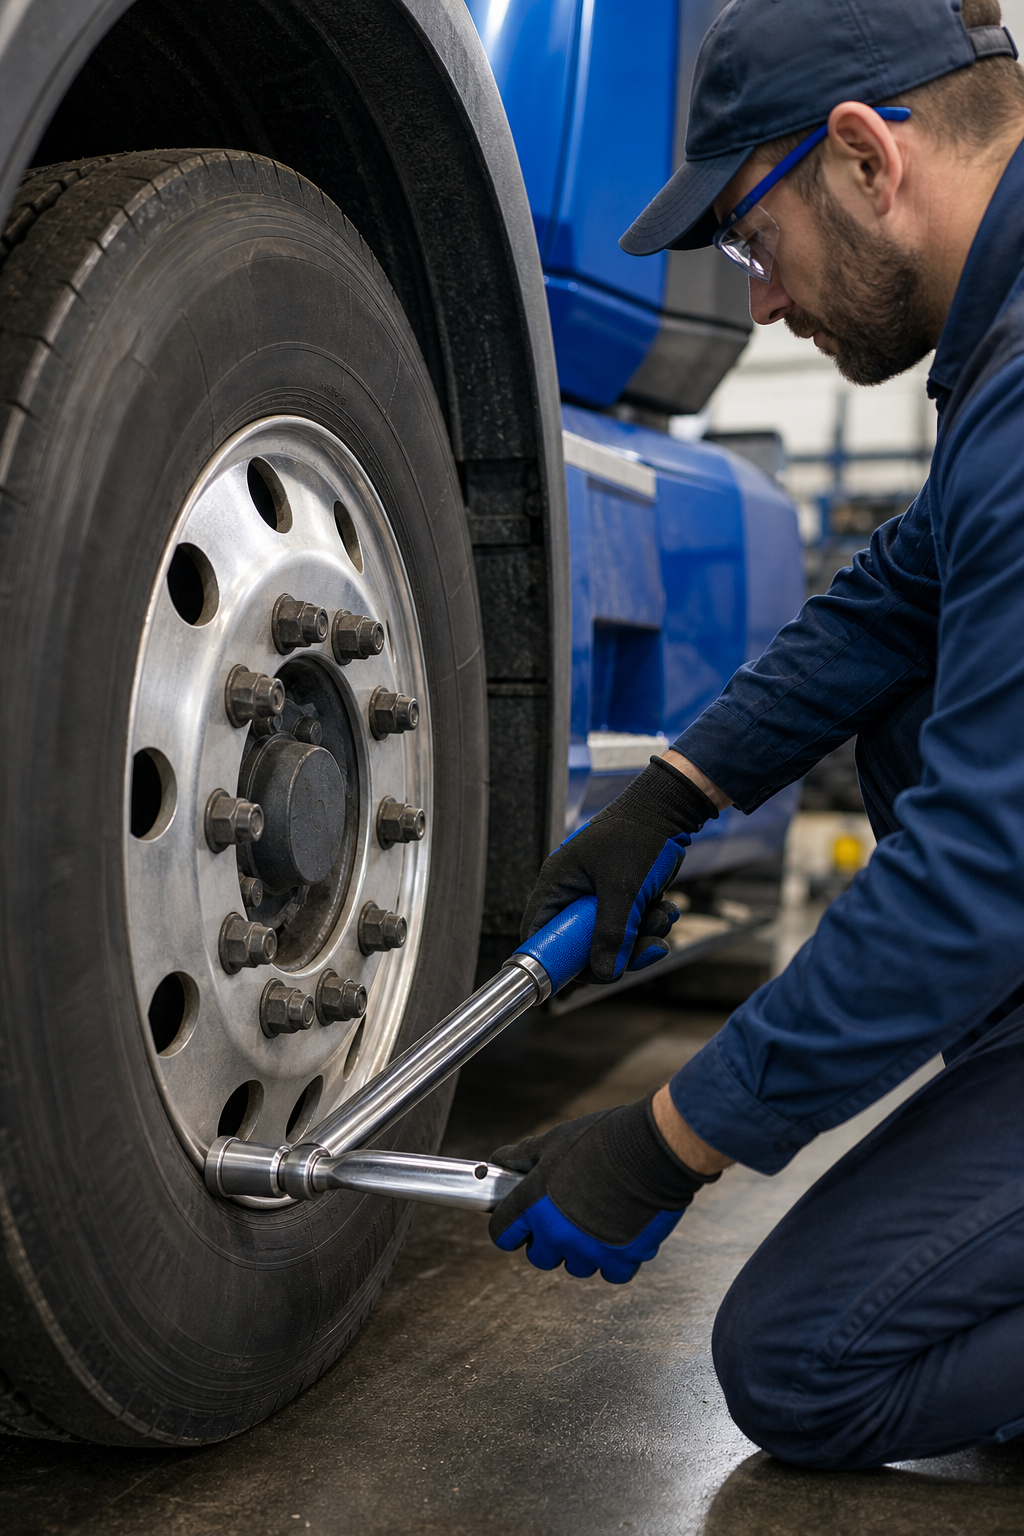
Key Takeaway:Proper torque and a thorough safety check prevent the wheel from coming loose during the first few miles.
And that’s it, you’ve changed the tire without a tow, saved downtime, and kept your crew safe.
FAQ
How long does it take to change a semi‑truck tire?
It usually takes about 30‑45 minutes if you have the right tools and a clear workspace.
Can I use a regular car jack for a semi‑truck?
No, a standard car jack can’t hold the weight of a semi‑truck; you need a heavy‑duty jack designed for trucks.
What safety gear should I wear?
Wear safety glasses, gloves, and steel‑toed boots. Keep appropriate fire safety equipment nearby in case of a tire burst.
Do I need to rebalance the tire after mounting?
Yes, balancing ensures a smooth ride and prevents uneven wear. Many mobile services include a quick balance check on site.
When should I call a professional instead of DIY?
Call a professional if the wheel studs are damaged, the tire sidewall is cracked, or you lack a proper bead breaker.
Conclusion
We recommend using the step‑by‑step method above, and when you need a fast, reliable fix, reach out to The Tire Specialist for on‑site service. Schedule your next maintenance visit today to keep your fleet moving.


Comments