.png)
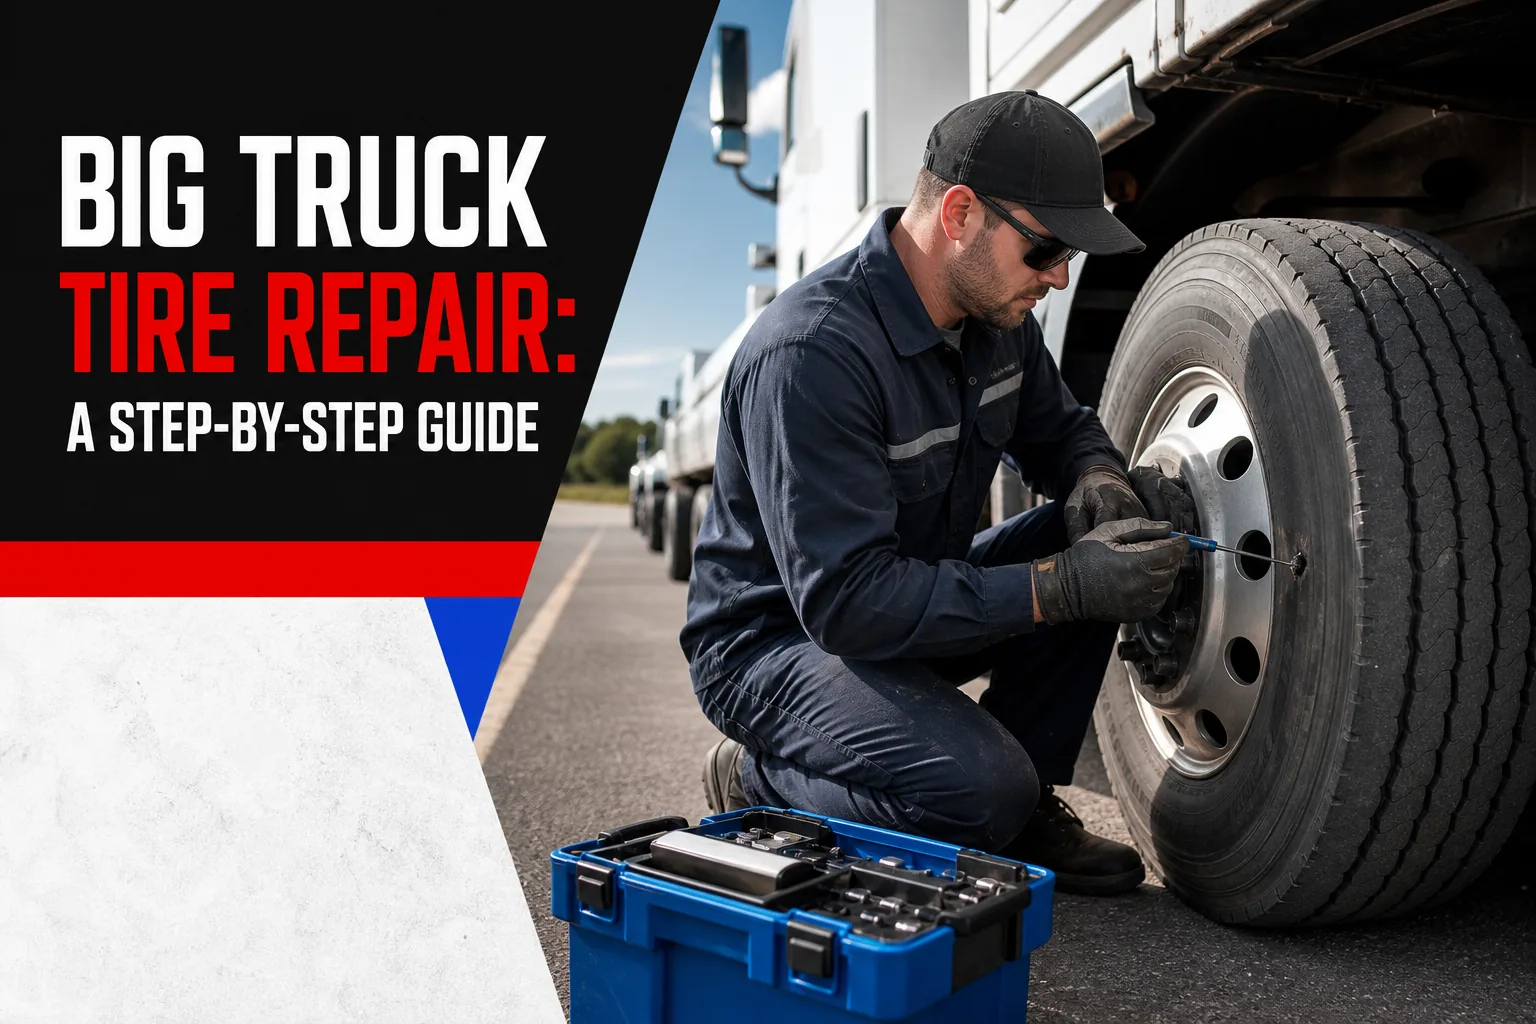
Big Truck Tire Repair: A Step-by-Step Guide
A nail in a big truck tire can look like a quick plug job. But highway tires need more than a fast patch on the outside. We’ll show you how to inspect the damage, choose the right repair path, check the finished work, and know when The Tire Specialist should come to your truck in Dallas-Fort Worth.
A proper patch-plug repair may take about 30 to 45 minutes, which is close to the time needed for a replacement. That makes the repair decision about safety and tire condition, not speed alone.
Table of Contents
Step 1: Inspect the Tire and Confirm the Damage Is Repairable
Yes, inspection comes first. Big truck tire repair should never start with a plug kit in the tread.
Park the truck on firm ground. Set the brakes and chock the wheels. Keep people away from the work area. If the tire has lost most of its air, do not drive the truck to a shop. A short trip on a flat tire can damage the casing beyond repair.
Find the puncture and measure it after removing the object. A repair may be possible when the injury sits in the tread, measures no more than 3/8 inch, and has not been repaired in the same spot. The tire also needs enough tread left for service.
Reject repair when you see sidewall damage, shoulder damage, exposed cords, a bulge, tread separation, severe cracking, or heat damage. A steer tire deserves extra caution. Any puncture or sidewall scuff on a steer position may require replacement rather than repair.
The tire must come off the wheel for a proper internal inspection. Look inside for liner damage, casing separation, trapped debris, or signs that the truck was driven while badly underinflated. The injury channel and the inner liner both need attention. See our related guide for more information.
Use a second safety check for tire condition and inflation. If you cannot inspect the inside, stop the repair and bring in a trained technician.
By now, you should have a clear answer: repairable tread puncture, or replacement condition.
Step 2: Gather the Right Tools and Prepare the Tire
Need to repair the tire in-house? Start with the safety gear and lifting tools, not the plug.
Commercial tires are heavy and can store a great deal of energy. Use proper lifting equipment, firm jack stands, wheel chocks, and appropriate personal safety gear. Never work under a truck held up by a jack alone. Follow appropriate safety procedures when servicing a tire that has been removed from its wheel and needs inflation.
A full repair setup may include:
An air regulator.
A bead breaker and tire irons.
Equipment to protect the wheel during service.
A low-speed drill with the correct carbide cutter.
A low-speed buffer.
A vacuum for buffing dust.
Approved vulcanizing cement.
An internal combination patch-plug and stitcher.
Inner-liner sealer and a torque wrench.
Valve tools matter, too. Commercial wheels may use different valve parts, so match the replacement valve to the wheel and tire assembly. Never guess at torque. Check the truck or wheel maker’s specification for the exact wheel, nut, and stud setup.
Deflate the tire fully before breaking the bead. Remove the tire from the wheel with the right equipment. Clean the outside so you can mark the injury. Then locate the puncture from inside the casing. Do not buff until you know where the repair unit will sit.
A plug-only repair can help a truck reach a proper service point, but it is not the finished repair for a commercial tire. The plug does not protect the inner liner from air and moisture damage. A proper repair uses an internal patch-plug after the tire has been dismounted and inspected.
Pro Tip:Keep a temporary plug kit for emergency movement only. Put the tire on the inspection list at once, and mark it clearly for follow-up.
The preparation milestone is simple: the tire is fully deflated, off the wheel, clean, and ready for an internal repair.
Step 3: Complete the Proper Internal Repair
Yes, the repair must address both parts of the injury. The patch seals the inner liner while the plug fills the puncture channel.
First, remove the nail or screw from inside the tire. Mark the injury so the repair stays centered. Use the correct reamer or carbide cutter to clean the channel. The tool should follow the original path instead of making the hole larger than needed.
Next, prepare the inner liner. Clean the area as directed. Buff a smooth, even area around the injury. Stop before you expose the tire cords. Remove all rubber dust. Any dirt, oil, or loose dust can weaken the bond.
Apply vulcanizing cement to the prepared area. Follow the cement maker’s drying instructions. The surface should be ready before you pull the repair unit through. Rushing this part can leave the patch loose at the edges.
Pull the combination patch-plug through from the outside. Center the patch over the injury. Use a stitcher from the center outward so trapped air can escape. Press the full patch area into the inner liner. Then seal any exposed rubber at the stem or repair edge with approved inner-liner sealer.
Do not trim the repair flush too soon. Follow the repair unit’s instructions. Different repair units have different stem and patch designs. The tire maker or repair material maker’s directions control the exact process.
Repair choice | What it addresses | When it fits | Main warning |
Plug only | Fills the puncture channel | Temporary movement to proper service | It can fail at highway speed and does not repair the inner liner |
Internal patch-plug | Seals the liner and fills the channel | Small tread injury that passes inspection | The tire must be dismounted and prepared correctly |
Replacement | Removes the damaged casing from service | Sidewall, shoulder, steer tire, or severe casing damage | Match the replacement to axle position and load needs |
If any part of the process feels uncertain, stop. A commercial tire shop or mobile service can assess the tire and help decide whether repair or replacement is appropriate.
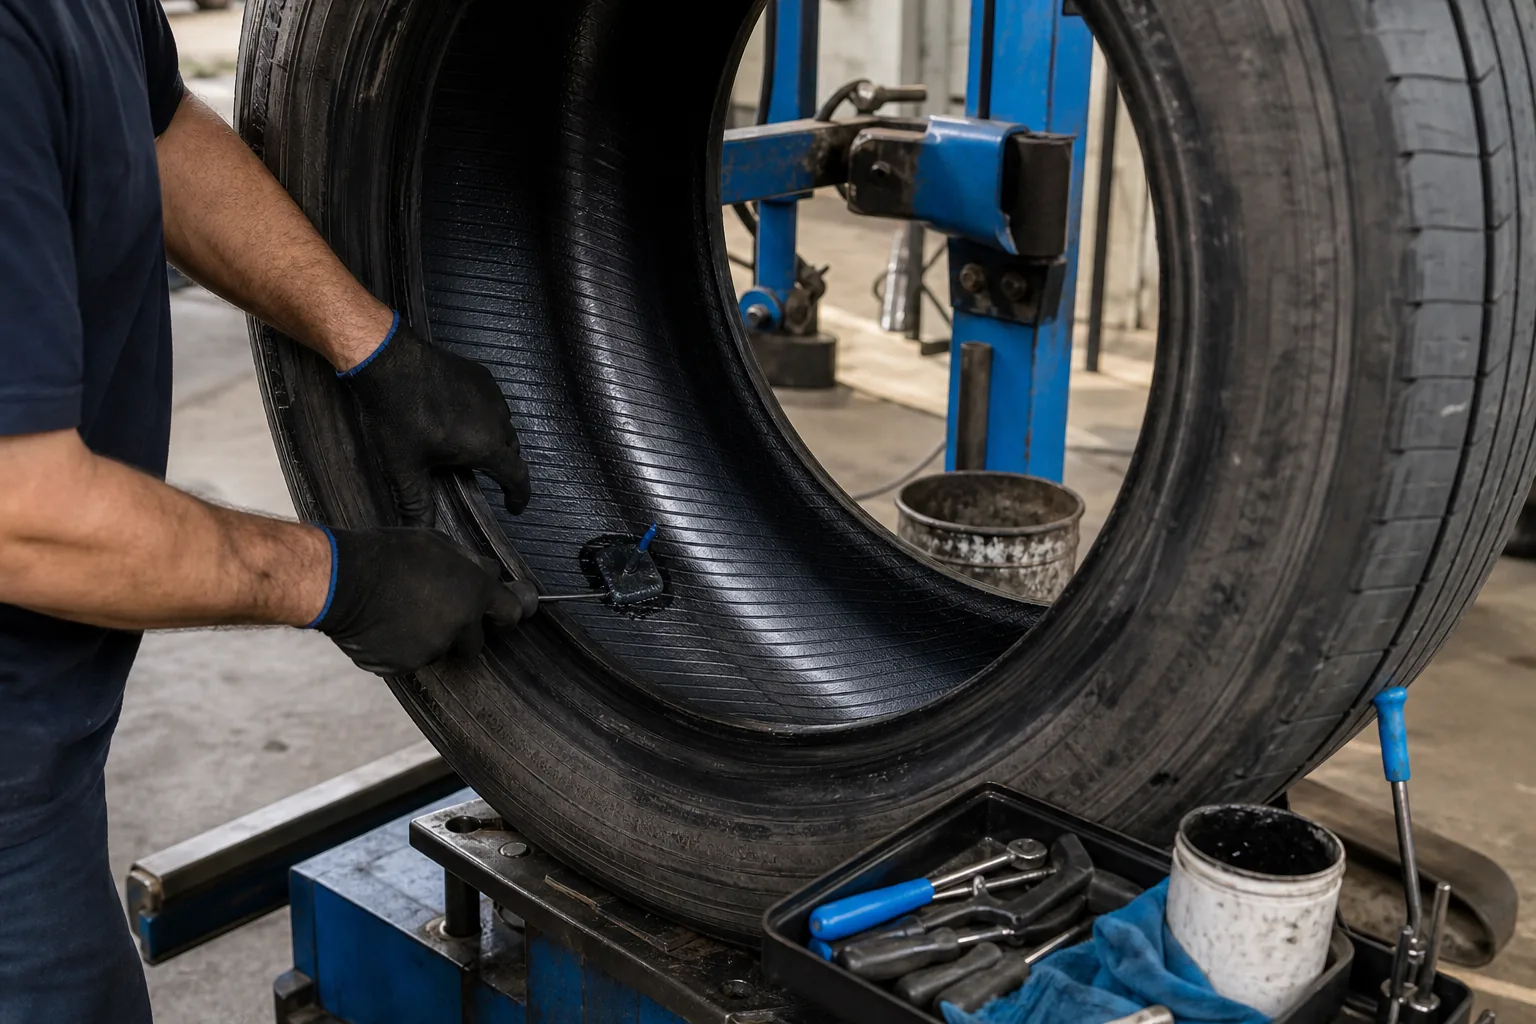
At this stage, the repair should sit flat, seal the liner, and follow the injury channel. That is the point to move into testing.
Step 4: Test the Repair and Confirm the Tire Is Roadworthy
Need a safe return to service? Test the tire before it goes back on the truck.
Inspect the repair from inside and outside. Look for lifted patch edges, air channels, wrinkles, cuts, or exposed cords. Check the bead area for damage. Inspect the wheel for cracks, bent flanges, heavy rust, or debris that could prevent a safe seal.
Inflate the tire inside a proper enclosed safety area when the tire is off the wheel. Stand clear of the trajectory zone. Use an air regulator and follow the tire and wheel maker’s inflation instructions. Never add air to a damaged assembly just to see if it will hold.
Apply an approved method for checking leaks around the repair, valve, bead, and wheel interface. Watch for bubbles. A repair that holds air at first may still leak around a poor patch edge or valve. Fix the cause before mounting the assembly.
When the tire passes the leak test, install it with the correct hardware. Torque the wheel nuts in the proper sequence and to the correct specification for that truck. Recheck torque after the required settling period set by the equipment maker or fleet policy.
Check inflation again with an appropriate tool. Confirm that the tire is on the right axle position. If the wheel was removed from a steer position, confirm that it seats correctly on the hub. A poor center fit can lead to vibration.
Record the repair in the fleet maintenance file. Include the unit number, axle position, tire identification, injury location, repair type, and inspection result. A clear record helps the next driver or technician spot repeat damage.
Key Takeaway:A tire is ready only after the repair, casing, wheel, bead, valve, inflation, and mounting all pass inspection.
If the leak remains, the tire gets hot, or the casing shows hidden damage, remove it from service. Do not send a questionable tire onto an interstate route.
Step 5: Choose On-Site Repair, Replacement, Retreading, or Ongoing Maintenance
Yes, the best repair path depends on the tire’s position, damage, and the operational needs of your fleet.
Choose on-site service when the truck is stranded, the tire cannot be safely driven, or moving the unit would disrupt a route. The Tire Specialist brings mobile commercial tire service to fleets across Dallas-Fort Worth. We can inspect the tire at the yard, dock, or roadside and help decide between repair and on-site tire replacement.
For DFW fleet managers, commercial truck tire repair service in Dallas can reduce the handoff between dispatch, a driver, and a shop. We focus on commercial trucks and fleet vehicles, so the service starts with the truck’s work needs rather than a passenger-tire workflow.
When replacement makes more sense
Replace the tire when damage reaches the sidewall or shoulder. Replacement also makes sense for a steer tire with a puncture, a tire with exposed cords, or a casing damaged by running flat. If repair time and replacement time are close, the stronger tire may be the better choice for a time-sensitive route.
When retreading may fit
Retread tires may fit drive and trailer positions when the casing passes inspection. Many fleets reserve new tires for the steer axle. Retreading can keep a usable casing in service, but the casing must be sound and the retread must match the axle’s work demands.
Ask the technician to explain why a casing qualifies. A retread is not a way to keep a damaged casing working. It is a choice made after inspection.
Build a fleet maintenance program
Routine checks prevent small tire issues from becoming roadside failures. Set a pressure check schedule that matches your routes and fleet policy. Inspect tread wear and sidewalls during daily vehicle checks. Track repeated punctures by route or yard so you can spot trouble areas.
Check cold inflation pressure as part of the fleet maintenance schedule.
Inspect for cuts, nails, bulges, and uneven wear.
Rotate tires when the tire maker or fleet plan calls for it.
Balance assemblies when vibration or uneven wear points to a problem.
Review repair records during fleet maintenance meetings.
Correct pressure protects the casing and supports even wear. Rotation and balancing cannot fix a bad alignment or overloaded axle, so inspect those causes when wear returns.
The Tire Specialist can help DFW fleets plan on-site inspections, emergency response, repair, and replacement around active routes. Keep a qualified mobile partner in your maintenance plan before the next flat decides your schedule.
FAQ
Can you plug a big truck tire?
Yes, but a plug-only fix should be treated as temporary help. Big truck tire repair should use an internal patch-plug after the tire is removed from the wheel and inspected. A plug alone does not seal the inner liner and may fail at highway speed. Have the tire checked by a qualified technician before regular service.
What size puncture can be repaired in a truck tire?
A repair may fit when the puncture is in the tread and measures no more than 3/8 inch. The tire also needs adequate tread and a sound casing. Sidewall damage, shoulder damage, a prior repair in the same spot, or signs of running flat can change the decision. The tire must be inspected internally first.
Is it safe to repair a steer tire?
Steer tires need a stricter decision. Any puncture, sidewall scuff, or irregular wear may call for replacement rather than repair. A steer tire guides the truck, so do not rely on an outside plug or a quick visual check. Remove the tire and have a trained commercial tire technician assess the casing.
How long does big truck tire repair take?
A proper patch-plug repair often takes about 30 to 45 minutes once the tire is ready for service. Mobile work can take longer because the technician must reach the truck and set up safely. Replacement may take a similar amount of shop time, so tire condition and route downtime should guide the choice.
When should I use mobile commercial tire service?
Use mobile commercial tire service when the truck is stranded, unsafe to drive, or tied to a route with little room for delay. The Tire Specialist serves Dallas-Fort Worth commercial trucks and fleet vehicles at the roadside or another safe work site. Share the truck location, tire position, damage type, and access limits when requesting help.
For a damaged commercial tire, choose safety over the quickest-looking fix. If the tire is in Dallas-Fort Worth, contact The Tire Specialist through our website with the truck location and tire details so we can help plan the next safe step.
Comments